OSDClient update preparation
This guide describes the steps required to upgrade to the OSDClient.
Requirements
Section titled “Requirements”Before continuing, observe the OSD software requirements...
Server
- Windows ADK for Windows 10, version 2004
- Windows PE add-on for the ADK
Client
- BIOS support for PXE 2.1 is required to use PXE boot.
- When using USB devices to boot OSD, make sure the machine BIOS and the USB device are compatible.
- WinPE 2.0 requires that the client has BIOS-level support for ACPI 2.0, and that this feature is enabled during deployment.
Enable OSDClient
Section titled “Enable OSDClient”How to enable the OSDClient to replace OSDGUI...
-
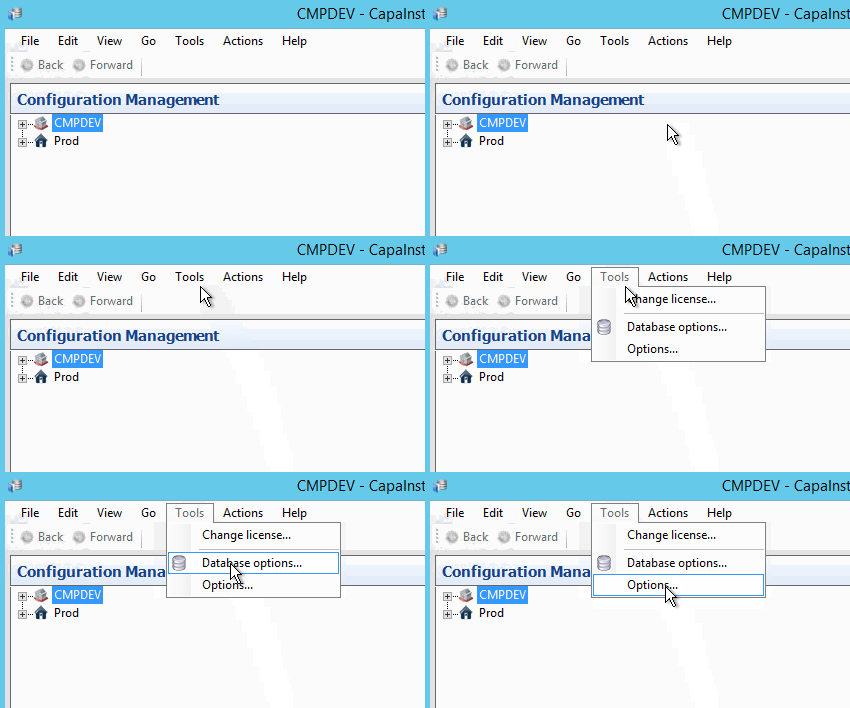
Navigate to the OS Deployment options dialog: select Tools → Options in the top menu.
-
Select Use OSDClient for legacy clients.
OS Deployment options
Detailed description of the configurable options...
- Mount folder — the folder to temporarily mount the Windows PE image in when the OS Deployment Point is configured.
- Remove folders after unmount — remove the temporary mount folders after unmount.
- Use OSDClient for legacy clients — use OSDClient to handle deployment of legacy clients, replacing OSDGUI.
- WAIK or ADK files — the path to the WAIK and ADK files.
- ADK files — the path to the ADK files used for OSDClient boot on UEFI and legacy clients.
- Administrator — the user or group that can manage the solution. Specify a domain/AD security group.
- Client log folder — the folder on the backend server that stores client log files.
Create new boot files for your platforms
Section titled “Create new boot files for your platforms”How to create a boot image...
-
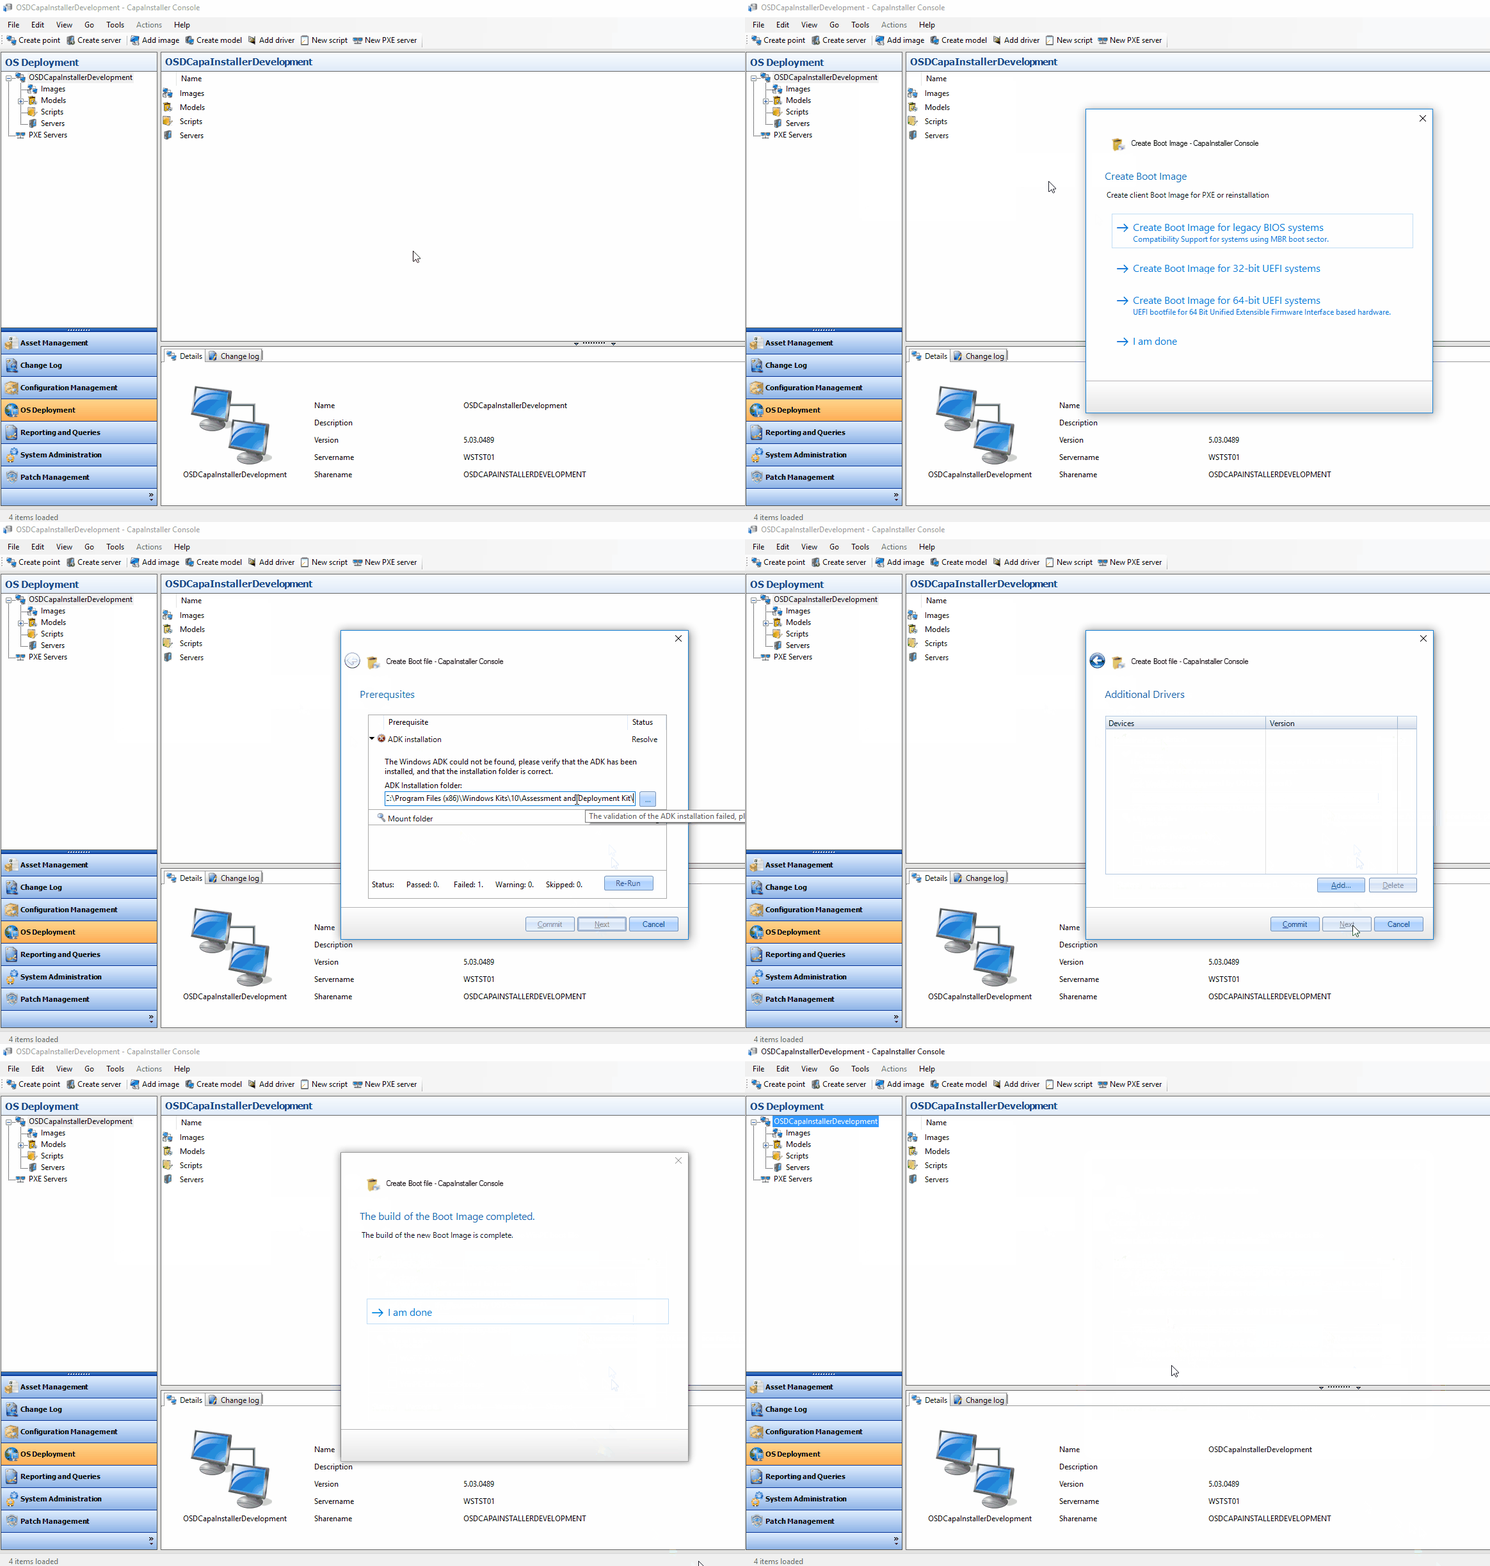
Right-click the OSD point and select Boot Image → Create Boot File….
-
Choose Create Boot Image for 32-bit UEFI systems or Create Boot Image for 64-bit UEFI systems.