

CapaWinUpgrade 5.0 - Release Notes
Released on November 9, 2021 - Updated on August 24, 2023
New Features
Section titled “New Features”Windows 11
Windows 11 is now supported.
The compatibility scan included with the product also scans for compatibility of hardware components.
Upgrade Phases
Upgrade phases give complete control over the sequence of packages and functions that need to be executed during a feature upgrade.
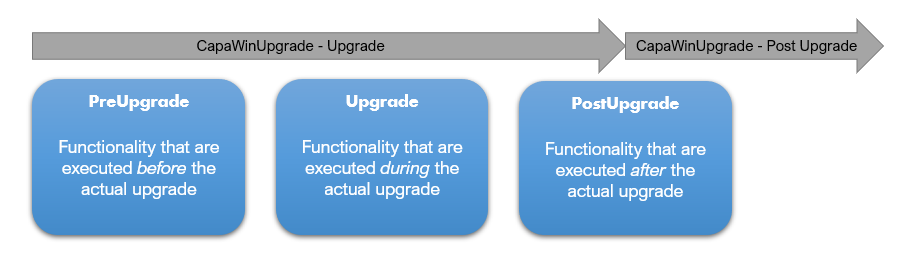
Upgrade phases have made it possible to keep the package status as Installing in the console, for the “Upgrade” package, during the actual upgrade.

Force prompt before upgrade
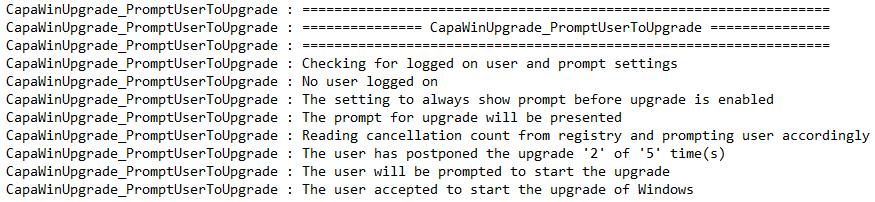
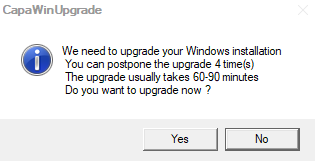
It’s now possible to force an upgrade prompt, when no end-user is logged on.
The logfile clearly indicates if and why the prompt is shown:

Push or Publish
The product now contains 2 separate computer packages, that can be used to either push the feature upgrade to computers or to publish the feature upgrade in the software catalog.

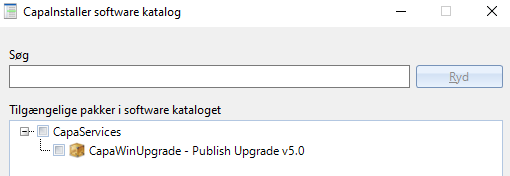
Using separate computer packages makes it possible to differentiate how each package behaves.
Set & Forget
Our Set & Forget mentality is now fully supported.
This means that the product will automatically detect if a content package has already been applied, and then skip job execution accordingly.
The changes will probably not have a huge impact on daily operations, because the product automatically checks if the expected Windows feature upgrade has already been installed, and only proceeds if that’s not the case.
Improvements
Section titled “Improvements”Installation Screen Handling
Previously, the product backed up the existing installation screen and forced the use of the installation screen that is included in the product. After a feature upgrade the original installation screen was restored.
The procedure caused a lot of weird issues, and that’s why we have completely redesigned how the installation screen is handled.
- If a working installation screen v2.x is already installed, that installation screen will be used.
- If no installation screen is installed, the installation screen included in the product will be used.
- If an existing installation screen is installed, but one or more components are missing, the product will fail with an error indicating which components are missing.
The new procedure to handle the installation screen is included in both the Check PreRequisites and the Upgrade packages, and is now executed before involving the end-user.
Installation Screen Language
Previously, only the messagebox language could be controlled.
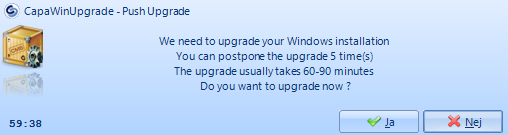
Now it’s also possible to control the installation screen language, independent of the messagebox language.
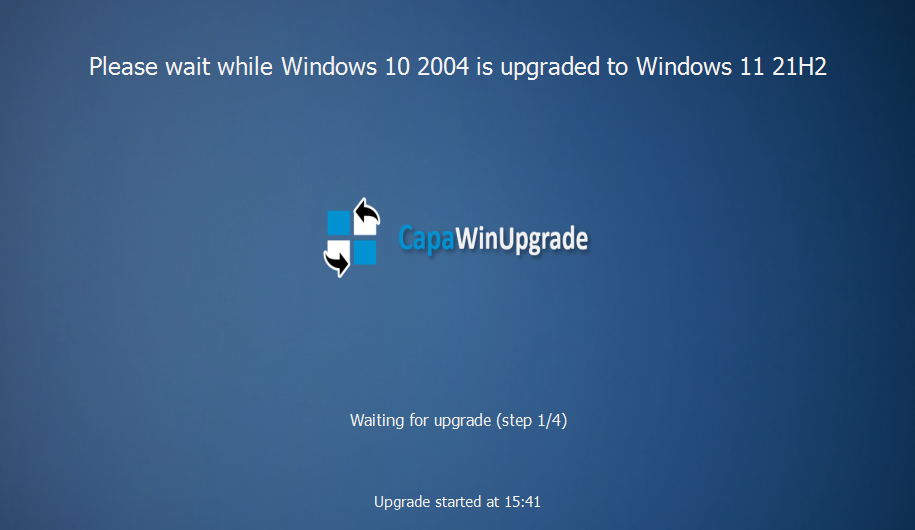
Supported languages are still “DA” and “EN”.
Danish characters are now presented properly on the installation screen.
Installation Screen Steps
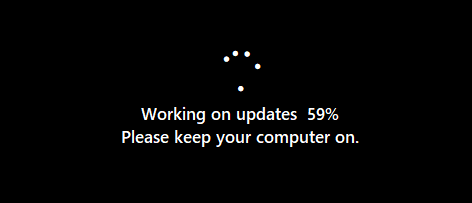
The installation screen now shows the current step that the upgrade is processing. There are 4 steps.
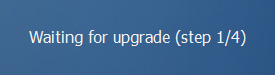

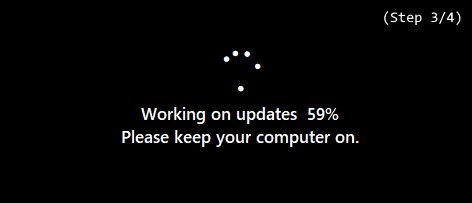 Step 3 is solely controlled by Microsoft
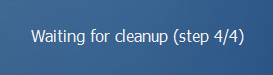
Mandatory PreRequisite Checks
Some prerequisite checks are now mandatory and are always executed during the “PreUpgrade” phase.
- Power connection check
- Compatibility scan
Running the compatibility scan increases the total installation time by 5-10 minutes, but ensures a much higher success rate.
Below is an example, encountered when the hardware is not compatible with Windows 11.


Reboot Behavior
To raise the success rate of feature upgrades, workstations are now always rebooted, just before the actual upgrade is started.
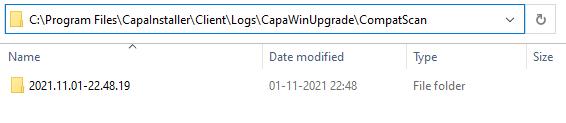
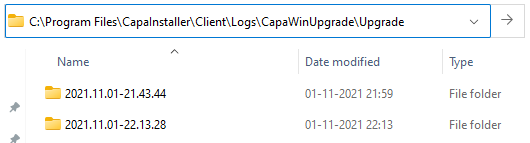
Logging History
All relevant logfiles are now saved in a history folder, making it easier to obtain information about previous prerequisite checks or upgrades.
Logging Levels
The option to enable verbose logging has been deprecated.
Instead, a simple log and a standard log is always created.
During package installation, the simple log is updated simultaneously with the standard log.

When package installation ends, the log files are switched and renamed, as shown below.

Afterwards, the log files are copied to the CapaWinUpgrade subfolder.
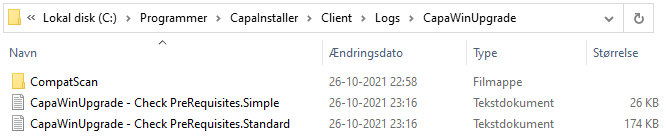
The purpose of keeping log files with different levels of information is to show the contents of the simple log in the console, and still have the option to troubleshoot various issues using the more comprehensive information from the standard log on the workstations.
Logging Phases
Just before reboot in each upgrade phase, the relevant log files are renamed using the name of the current upgrade phase.
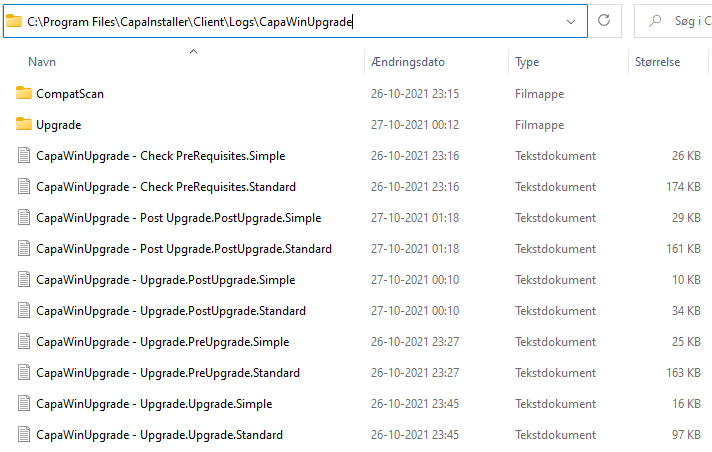
This is done because when a package restarts installation, the log file is overwritten and the information would be lost.
Library Files
The library files CapaFactoryLib.cis and CapaWinUpgradeLib.cis are now placed in the Service Files content package.
Placing the library files inside a content package, instead of placing them in the resources folder of each configuration management point (as before) has several benefits:
- Each version of each product can run on its own set of libraries. This makes it easier to release new versions that can co-exist with existing (older) versions.
- It minimizes the risk of interrupting the operation and functionality of other products or versions, that previously shared one or more library files.
- It removes the necessity of promoting and synchronizing the library files between configuration management points and servers.
Environment Initialization
The scripting environment is now always initialized at the start of each script execution.
The value of all global variables is written to the top of each log file, to make troubleshooting easier.
File Download Progress
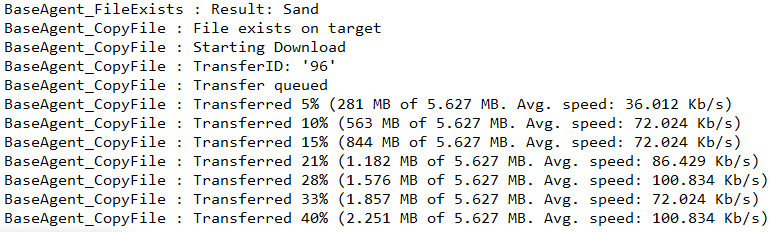
The file download progress is now shown in the standard package log during download.
The progress is not shown in the simple log, because the timestamps can easily be used to identify the total download time, and we want to keep the simple log as short as possible.
Custom Inventory Errors
If a package installation fails, the error description is written to the top of the package log and is also saved in the “Job Error Description” field in custom inventory.
This makes it easier to keep an overview of the most frequent errors.
Below is an example, encountered when the computer has not been linked to a control group.


Custom Inventory Collection
Custom inventory collection can be completely disabled using a global variable.

The custom inventory values are still saved in the local registry on the workstations.
Technical Stuff
Section titled “Technical Stuff”Bug Fixes
- File and folder deletion errors related to the installation screen are no longer relevant, because the installation screen handling has been completely redesigned.
- The total upgrade run time is only calculated and shown if both start and end time values are present. On computers running some Eastern European native languages, such as Polish, this previously caused issues.
- The “Upgrade Ready” value is now solely controlled by the result of the compatibility check. Previously, the value was collected continuously, which caused issues for customers that used dynamic groups based on the value.
Scripting and Variables
-
The “Upgrade Ready” value is no longer language dependent — instead it returns either “Yes” or “No”. This makes it easier to generate assessment reports and to handle unit membership of dynamic groups.
-
The library file versioning has been changed to contain dates, instead of sequential numbers. This makes it easier to identify how old a specific scripting library is.

-
The number of global variables “shared” between scripts is reduced. This makes it a lot easier to understand where values are coming from.