

How to Update
Follow these steps to update CapaInstaller, from planning through promoting the update to your sub-points.
Planning
Section titled “Planning”Preparation
Section titled “Preparation”- Backup your CapaInstaller Database.
- Lock the server by selecting Lock this server in > Management server properties.
- If you’re updating between major release versions, download the latest setup from CapaInstaller.
Run the Setup.
If you are updating an existing installation with a new minor build, just run the setup. It will prompt you to download the latest version.
Click Update to start the update process.

Select Remove downloaded files to clean up the downloaded files (C:\Program Files\Common Files\CapaInstaller\Setup)
Updating the Management Portal (only if you use it)
Section titled “Updating the Management Portal (only if you use it)”- Execute the Windows Installer package CapaInstaller Management Portal.msi.
- Select Next and complete the guided installer.
Promote the updates
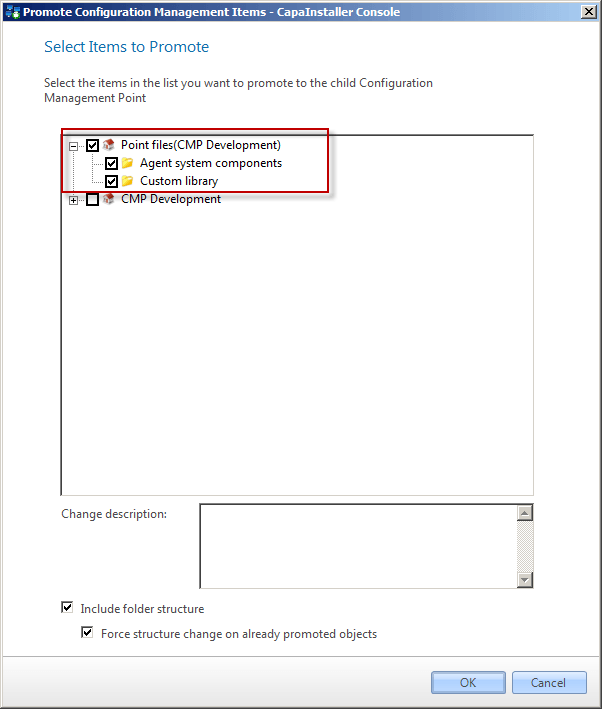
Section titled “Promote the updates”Promote the updates for each sub-point to ensure system components are distributed to the sub-points.
-
Select Promote on each point to update, and select all the items to promote.
-
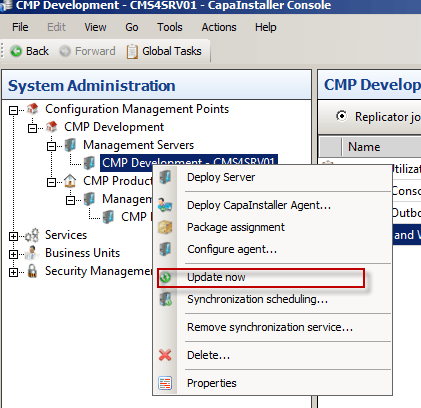
After the promotion finishes, update each server on the target point. In the System Administration plugin, right-click the management server to update and select Update now.
Read more: Update now.
-
Once promotion to all sub-points is done and Update Now requests are completed for all servers within the points, you can unlock the management servers again.
-
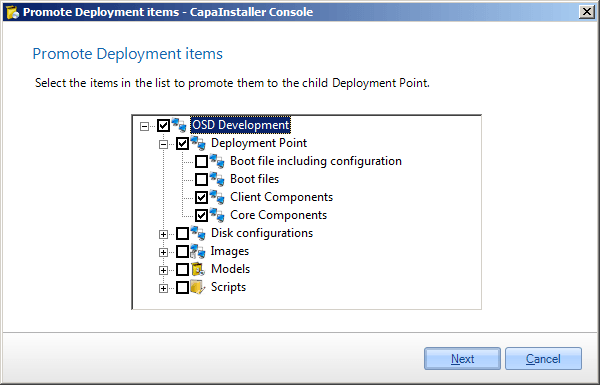
Promote the OSD point client and core components.
-
Update the boot.wim files to ensure new components are added. Read more here: Create a boot image.