

Create a Company App
A Company App is an application on the Company Apps tab under Windows → Applications. You create it as one of two application types: a Repository Application or a Custom Application. This page shows you how to create both.
Choose an application type
Section titled “Choose an application type”| Repository Application | Custom Application | |
|---|---|---|
| Source | An app from the Repository Apps catalog. | An installer or files you upload yourself. |
| Version | Follows the latest version in the catalog. Endpoints get it when you update them, or with a workflow. | The version you upload. You upload a new version yourself. |
| Install logic | Maintained by CapaOne. | PowerBricks that you set up. |
| Storage | Doesn’t use your storage. | Uses your organization’s storage. |
| Use it for | Assigning an app from the catalog to groups. | In-house applications, licensed software, and apps that aren’t in the catalog. |
Check the Repository Apps catalog first. You can install and update an app from the catalog on endpoints directly, from the Repository Apps tab, an endpoint’s page, or a workflow. Create a Repository Application only when you want to assign the app to groups. See Repository Apps.
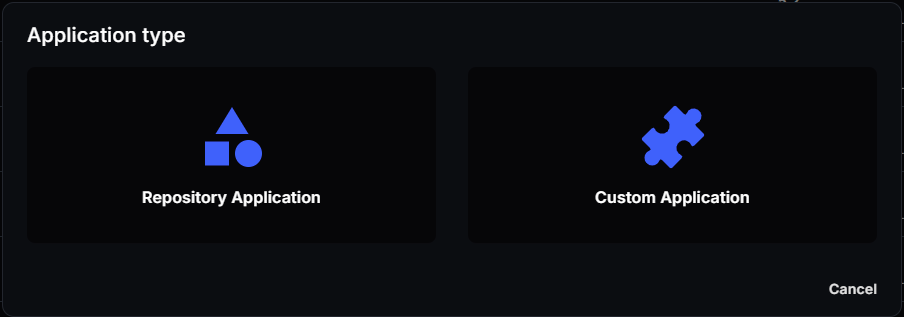
To create either type, go to Windows → Applications, select the Company Apps tab, and click New. Then select the application type.
Create a Repository Application
Section titled “Create a Repository Application”- On the Company Apps tab, click New, and select Repository Application.
- In Available CapaPacks, search for the app and select it.
- Check the settings, such as Installation Tier, Architecture, Language, and Release status.
- Click Create.
The app appears on the Company Apps tab with the type Repository Application. For details about each setting, see Add a Repository App.
Open the app’s menu on the Company Apps tab to select Assignment, Edit, or Delete.
Create a Custom Application
Section titled “Create a Custom Application”A Custom Application installs from files that you upload. You set up its install and uninstall logic with PowerBricks.
Upload the installer
Section titled “Upload the installer”-
On the Company Apps tab, click New, and select Custom Application.
-
Under Source Files, select one of:
- Installation file — an
.msi,.exe,.msix, or.msufile. - Directory — a folder with the installer and any files it needs.
- ZIP file — a
.zipfile with the installer and any files it needs.

- Installation file — an
-
If you uploaded a folder or ZIP file, select the installation file in it. Select Select no Installation File if the app has no installer, for example when it only copies files with PowerBricks.
CapaOne uploads the files. Keep the browser tab open until the upload is done. The upload progress is also shown in the top bar. If the upload progress stops at the same percentage and doesn’t move, close all browser windows, sign in to CapaOne again, and restart the upload. If you used Import custom app, see Import an exported app.
The maximum total size of an upload is shown under Source Files. The app name can’t contain
the characters ', ", $, `, /, or \. CapaOne takes the name from the installer
file or folder, so rename the file or folder before you upload it if its name contains any of
these characters. Uploaded files are scanned for malicious code. If the scan finds malicious code
or locked files that can’t be scanned, the upload is deleted.
Import an exported app
Section titled “Import an exported app”If a Custom Application was exported with Export for CapaOne, you can create a new app from
the export. On the New page, select Import custom app instead of uploading source files,
and select the exported .zip file. CapaOne uploads the file and creates the app from it.
If an import doesn’t complete, it stays in the list with the status Pending Import, and its progress stays in the top bar. Delete the Pending Import entry to remove it, then upload the file again with the right option.
Set the installation options
Section titled “Set the installation options”When the upload is done, the Installation options dialog asks for the command-line options for
the installer. CapaOne suggests options for common installer types. For example, for an MSI file
it suggests /qn REBOOT=ReallySuppress ALLUSERS=1.
Refer to the application’s documentation for its installation options. For EXE installers, you can
often list the supported options by running the setup file with /? in a command prompt.
The options are copied to the parameters of the install PowerBrick, and you can change them later in the PowerBricks Editor. MSIX and MSU files don’t take installation options.
CapaOne reads Name and Version from the installer’s file properties and adds the Download Content and install PowerBricks for you.
Fill in the app details
Section titled “Fill in the app details”| Field | Description |
|---|---|
| Name | Required. |
| Version | Required, for example 2023.006.20380. |
| PowerBricks | The steps that install and uninstall the app. Click Open PowerBrick Editor. See PowerBricks. |
| Description and Icon | Optional. |
| Installation Tier | When the app installs relative to other apps. Standard by default. See Installation Tiers. |
| Architecture | 32-bit, 64-bit, or Auto. |
| Language | Danish, English, or System language. |
| Release status | Testing, Released, or Retired. See Release status. |
Click Create. The Create button stays unavailable until the app has source files, a Name, and a Version. Hover over it to see which fields are missing.
When you save the app with its Release status changed to Released, CapaOne asks whether you want to copy the assignment from another app. Select yes to reuse the endpoints and groups of an existing app, for example an earlier version.
If you cancel while you’re creating the app for the first time, the draft app is deleted.
PowerBricks
Section titled “PowerBricks”PowerBricks are ready-made steps, such as installing an MSI file, setting a registry value, or creating a shortcut, that you combine into the install and uninstall logic of the app. See PowerBricks for the full list.
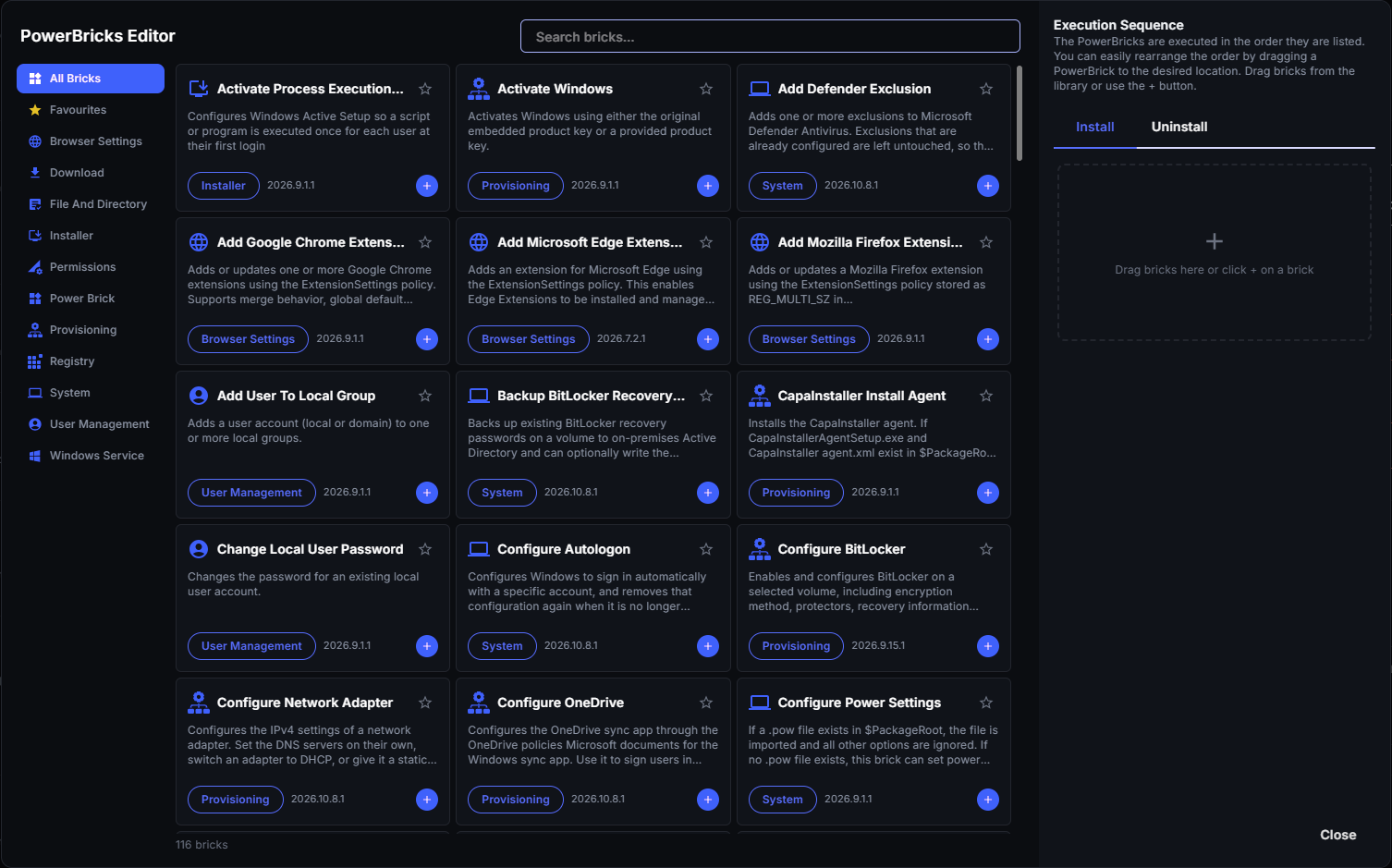
In the PowerBricks Editor:
- Search for a brick, or browse the categories.
- Add bricks to the Install or Uninstall tab of the Execution Sequence. Drag them into the order you want. The bricks run in the order they’re listed.
- Open each brick to fill in its parameters, and click Apply changes. A warning icon shows if a required parameter is missing.
- Click Close, and then save the app.
To reuse a brick with its settings, open the brick’s menu and select Save as Preset. Your presets are under My Presets. When a newer version of a brick is available, the brick shows a notice and you can select Upgrade in its menu.
Add an uninstall sequence as well, so the app can be uninstalled from CapaOne.
How the PowerBricks run on the endpoint
Section titled “How the PowerBricks run on the endpoint”You don’t write or upload an install script. CapaOne generates one PowerShell script for the Install sequence and one for the Uninstall sequence from the PowerBricks. The endpoint downloads the generated script and runs the bricks in order.
- The generated scripts,
Install.ps1andUninstall.ps1, aren’t files in the app. They don’t appear under View content or Source Files, and you don’t add them there. - The files under Source Files are on the endpoint only after Download Content has run.
Put Download Content first in the sequence when other bricks use the app’s files, for
example with the path
$PackageRoot\setup.exe.
To see what happened on an endpoint, see Read Installation Logs for Company Apps and Scripts.
Change the files later
Section titled “Change the files later”Open the app, select Edit, and use Modify Content under Source Files to add, replace, or remove files. All existing files are replaced when you replace the content and save.
Other actions
Section titled “Other actions”Open the app’s menu on the Company Apps tab for more actions:
- Duplicate — create a copy of the app, for example to prepare a new version.
- Copy assignment from… — copy the endpoints and groups from another app.
- View content — see the files in the app.
- Export for CapaInstaller — download the app as a package for CapaInstaller.
- Export for CapaOne — download the app as a
.zipfile that you can import again to create a new app. See Import an exported app. - Intune — upload the app to Microsoft Intune. See Upload a Company App to Intune.
Next steps
Section titled “Next steps”Assign the app to endpoints or groups. See Assign and Redeploy Windows Applications.
To install a Company App on a schedule, or on all endpoints that match a filter, use a workflow with the Install custom application action. See Automation.